使用說明
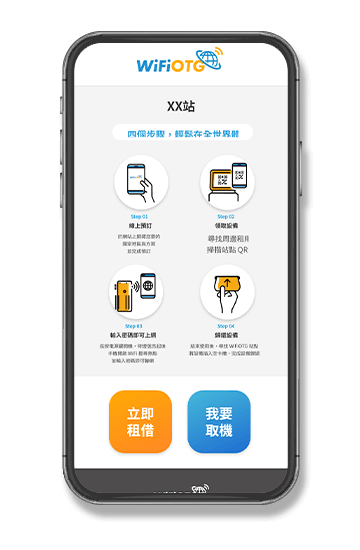
四個步驟,輕鬆在全世界體驗高速上網
-

Step 01
線上預訂
於網站上選擇您要的
國家地區與方案
並完成預訂 -
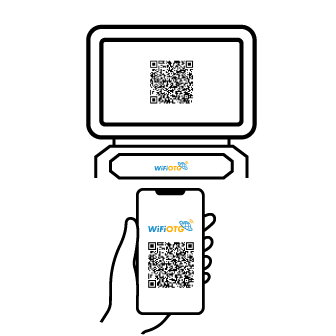
Step 02
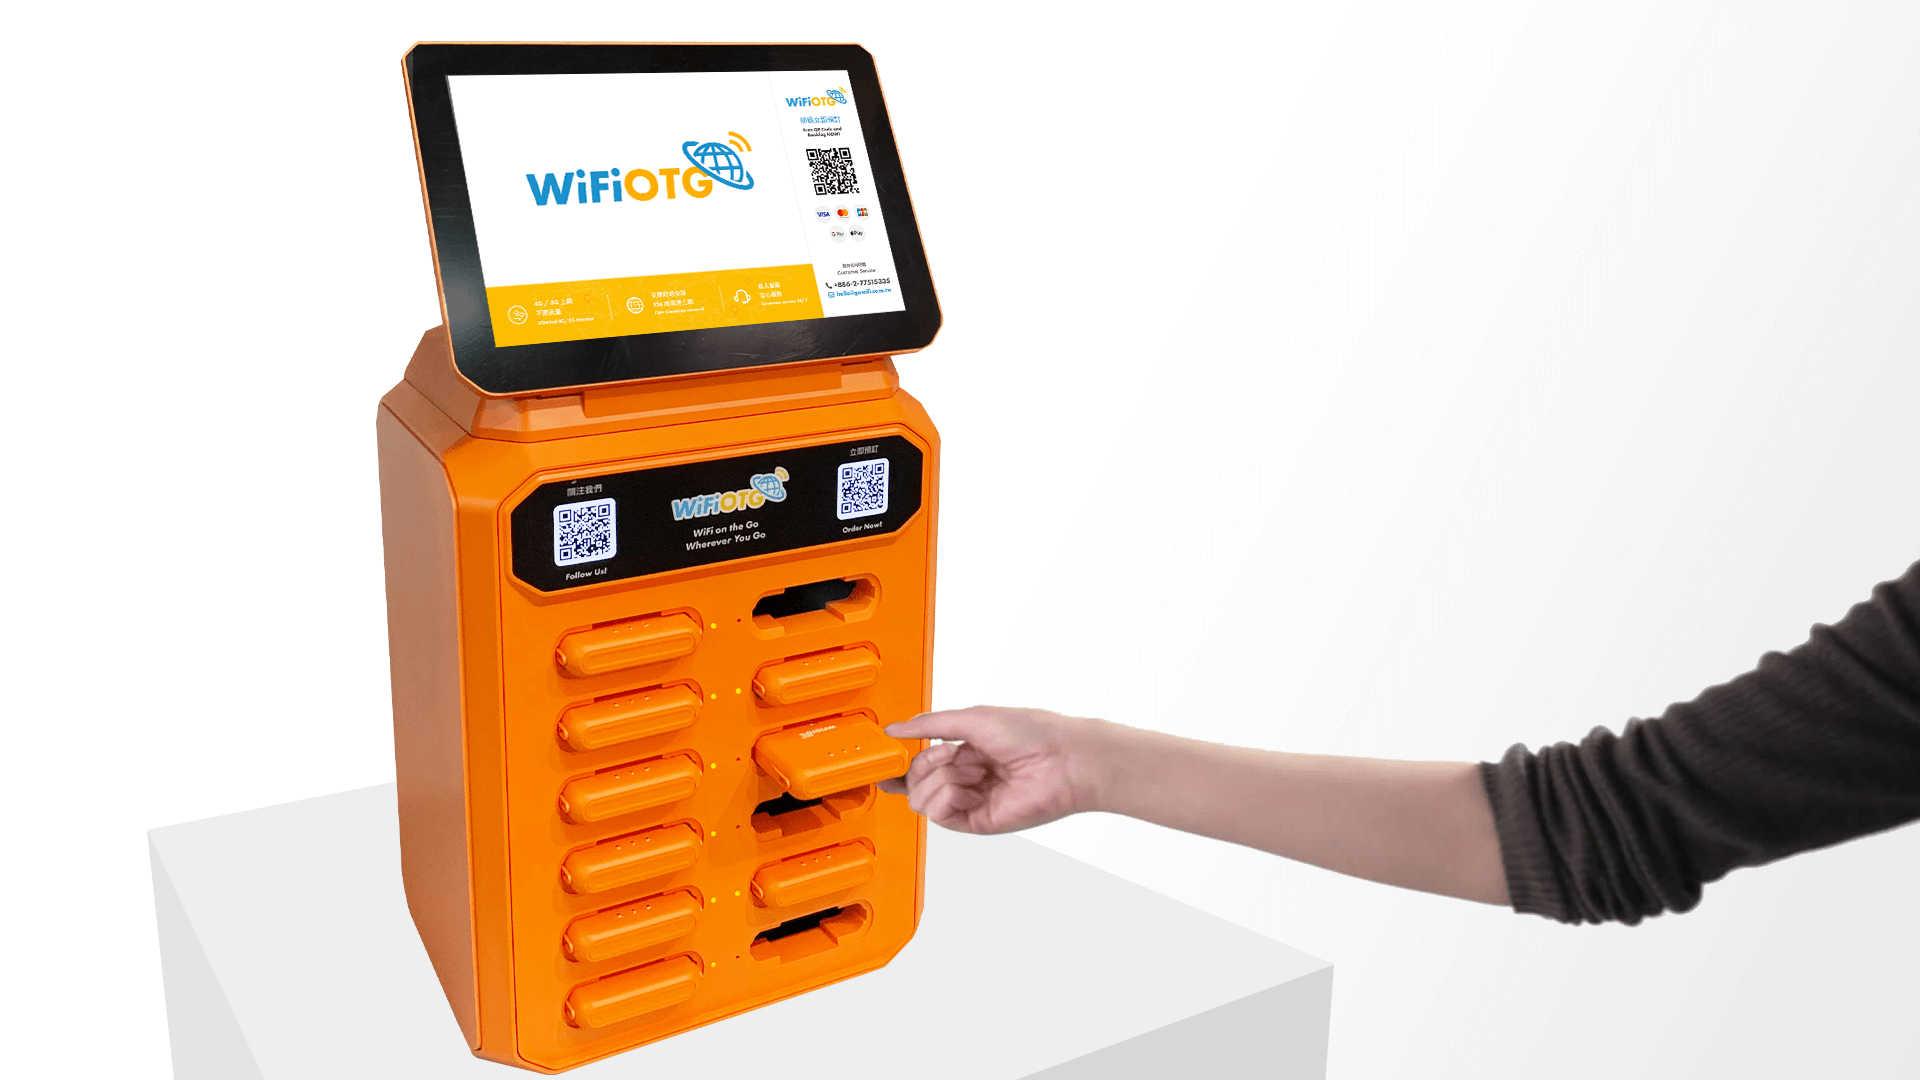
領取設備
尋找周邊租用站點
掃描站點 QR Code
領取設備 -
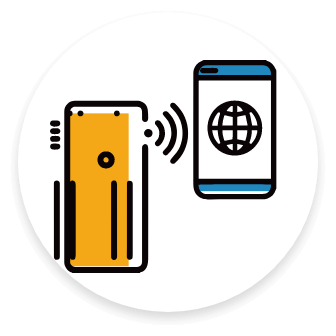
Step 03
輸入密碼即可上網
長按電源鍵開機,待燈號亮起後
手機開啟 WiFi 搜尋熱點
並輸入密碼即可聯網 -
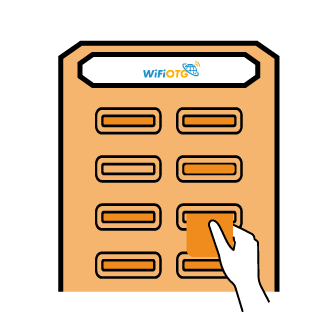
Step 04
歸還設備
結束使用後,尋找 WiFiOTG 站點
將設備插入空卡槽,完成設備歸還
預訂 / 租用
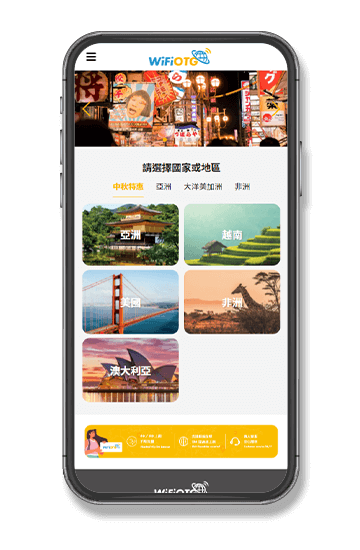
選擇要前往的國家或地區, 再選擇您的上網方案。
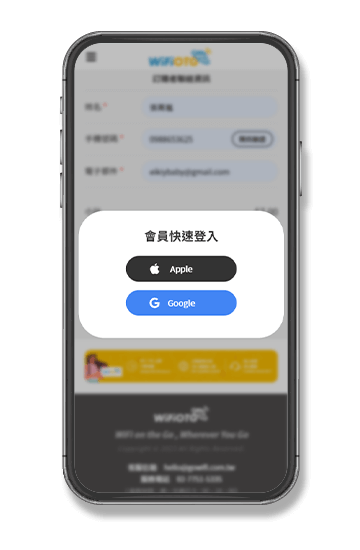
請先完成會員綁定,目前支援 Apple ID & Google 登入。
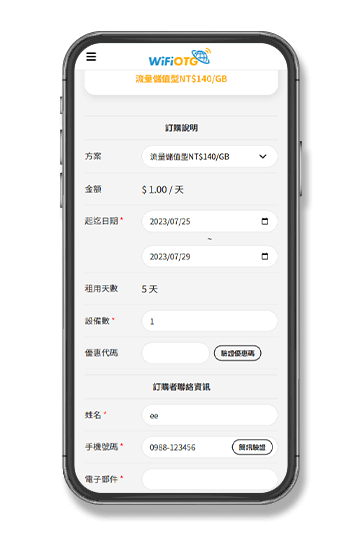
填入租用日期、租用人聯繫方式,並確認內容是否正確。

完成付款!
目前支援 Apple Pay, Google Pay,
信用卡, LINE Pay …。
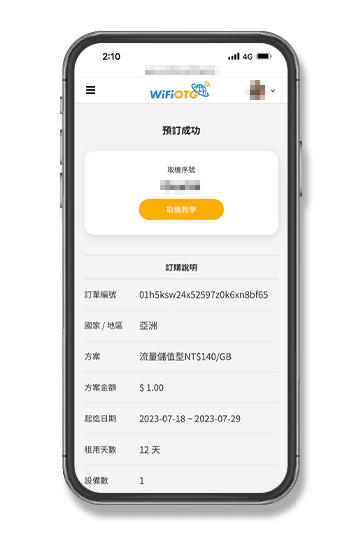
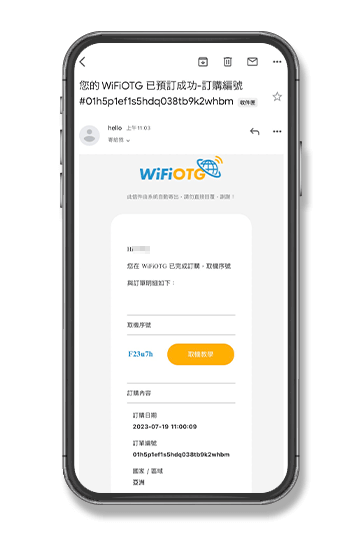
預訂付款完成後,會跳轉至訂單完成頁,也會收到 Email 通知,您也可以至「租借紀錄查詢」去確認訂購內容。
訂單查詢
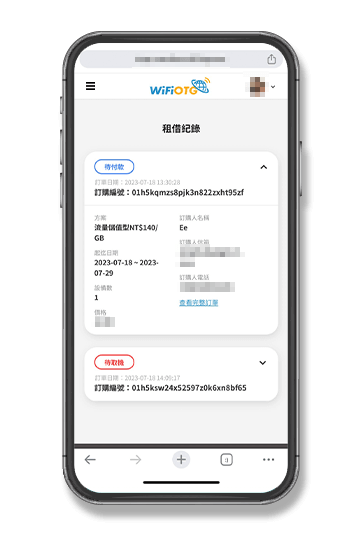
登入會員後,您可在「租借紀錄查詢」查詢訂購內容。
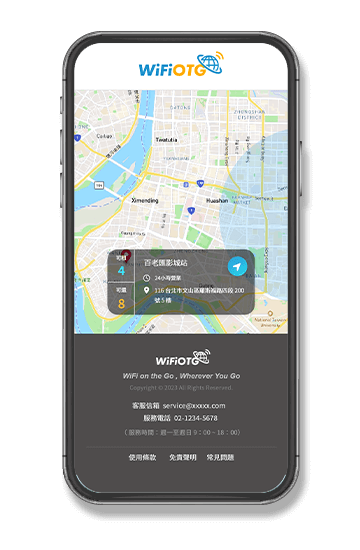
如何取機
可先閱讀「訂單成立通知」,取機前亦可先至 WiFiOTG 取還點查詢 設備數量,並決定到哪個站點領取設備。

掃描 WiFiOTG 站點上的 QR Code
1. 若為本人取機,可快速登入會員完成取機,確認後機器會自動彈出。
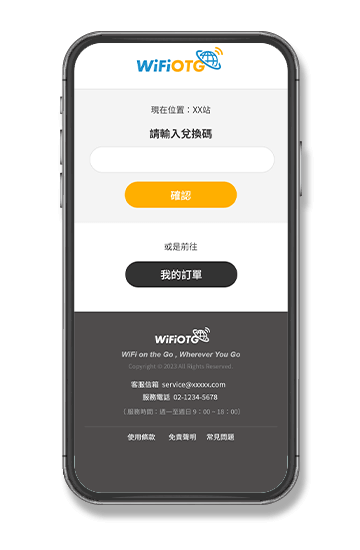
2. 若非本人取機,可頁面下方輸入領取碼,完成後機器會自動彈出。
如何還機
至 WiFiOTG 取還點查詢 尋找附近周邊站點。
確認站點有空的插槽,將設備插入即可。
請注意 有燈號/連結線 的那一面請朝上
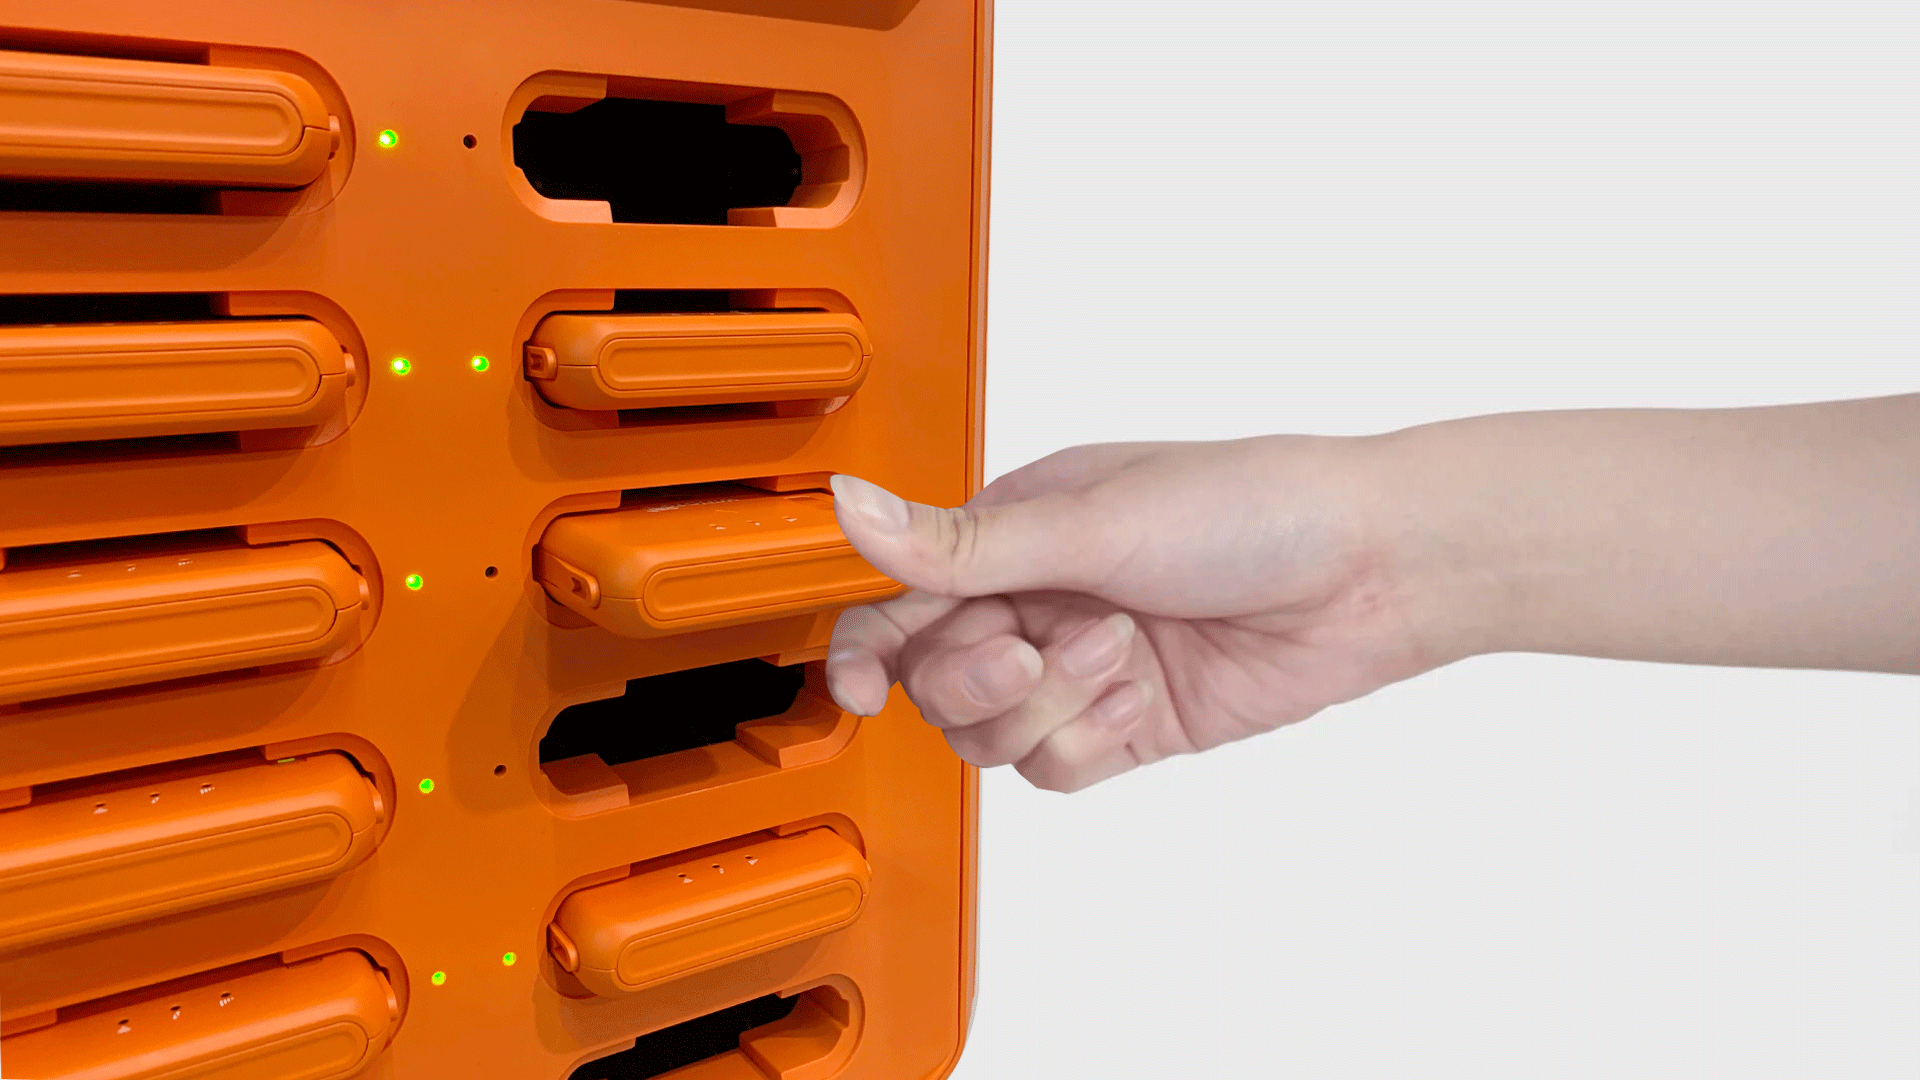
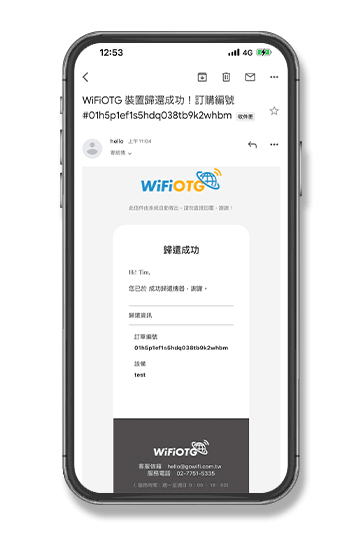
聽到”咖”的一聲後即完成歸還,您會在幾分鐘內收到「歸還通知 Email」。
如何延長 / 報修
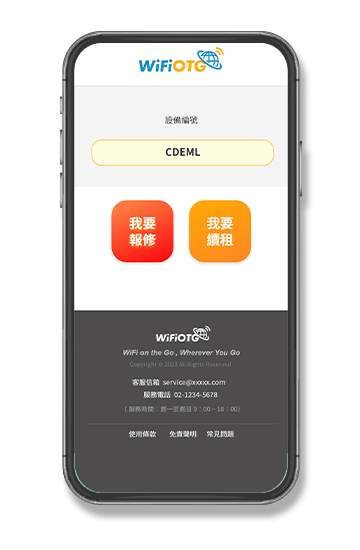
掃描設備上的 QR Code,選擇「我要續租」。
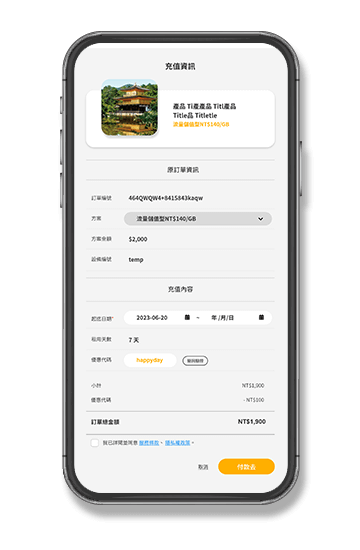
選擇欲延長歸還的日期,確認訂購內容無誤。
完成付款!
目前支援 Apple Pay、Google Pay、
信用卡、LINE Pay …。